My Bathroom Mini-Reno project story DID take longer than I expected it to, but don’t all home improvement projects? This one didn’t have an identified completion date because I was at least half way through the project and hadn’t made all the selections. However, I’m thrilled to say that after about 8 weeks without a bathroom door, my Bathroom Mini-Reno is complete! *AND I’m still married.
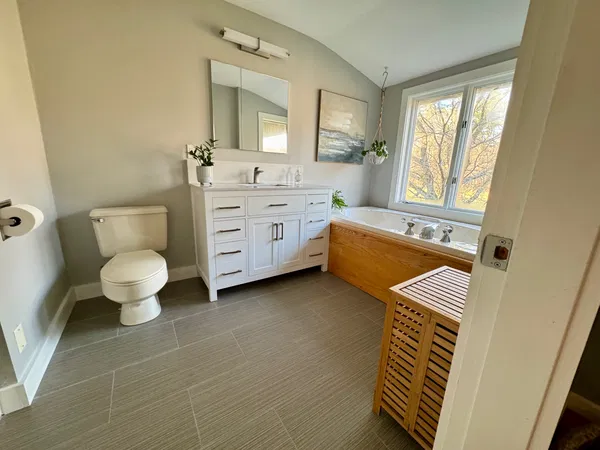
The best way to save money on a bathroom renovation is to not move any plumbing. We did just that, and went one step further because we kept our existing tub, shower and even the toilet. The toilet was more because Jay has always been pretty proud of the fact that our house doesn’t have low-flush toilets, so I knew that wasn’t going anywhere. I’m just happy it is beige, not any of those late 80s/early 90s colors like plum, hunter green or even the 90s light gray. So, we saved quite a bit keeping our existing large plumbing fixtures.
The biggest expense was the flooring–we had our handyman demo the floor, then hired a tile guy who had the tools and skills to do it professionally–especially since the light green plaid vinyl stick tile flooring was what prompted this project to begin with.
I was really struggling with selecting a vanity. We were accustomed to a 48” single sink vanity–and that’s what I wanted to replace it with–I like having the 6 drawers for two people, but don’t have the space or the need for a second sink in this bathroom. I love the look of walnut with the flow of the grain of one large piece of wood in the pattern, throughout the doors and drawers, but the tile I chose had a pattern through it, so I felt a busy floor would compete with a busy wood grain. My wallet was pretty happy about this decision, as you don’t typically find walnut anything on the clearance rack. Still not finding a vanity I liked, I thought we might as well put the old vanity back in until we saw something that really caught our attention.
Then, out of absolutely NOWHERE, I happened to click on a Facebook post for a store in Leominster called East Coast Liquidators. They posted that they had a few Wayfair bathroom vanities in stock. I’ve never ordered from Wayfair before, mainly because I like to support local businesses, but more that I did not want to buy something so permanent without being able to check it out in person. I didn’t intend to go with a white vanity, but it had legs, which I knew I wanted, it had the exact door/drawer layout I wanted, and if I didn’t buy this one, the curvy old oak vanity was going back in.
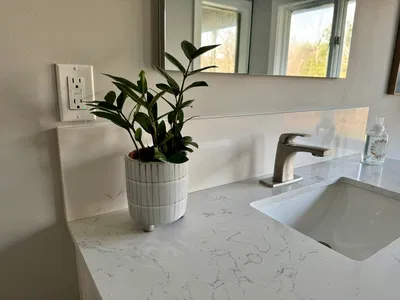
I had seen an 8” countertop backsplash for bathrooms on Houzz (I love Houzz for project inspiration). Since I bought my vanity at a liquidation store, I had very little (0) say in what the backsplash looked like. So, my one spend deemed ‘unnecessary’ in this bathroom was that I brought the included 4″ countertop backsplash to a countertop fabricator and had an 8” backsplash made.
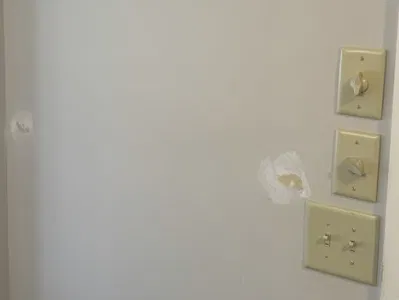
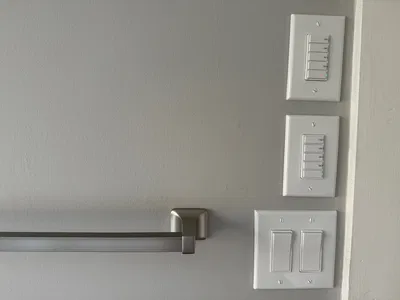
The light switches and controls for the vent fan and heat light in this bathroom were not only dark ivory, the knobs for the two top switches often popped off the wall and would go missing, so a huge improvement was matching the white of the outlets that we replaced, and (I had no idea this existed) being able to choose the timing increments for these more modern controls (did not buy one that allowed the heat lamp to be on for an hour, as an example). SO much better looking.
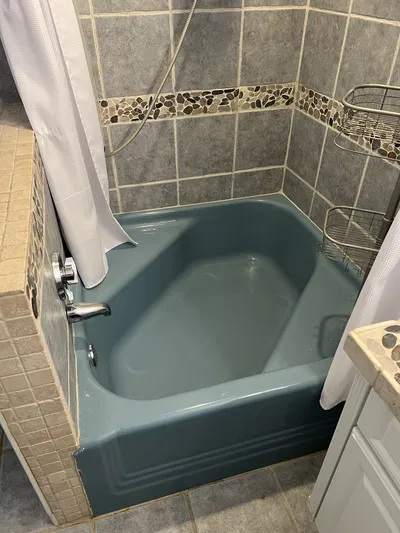
Jay initially questioned some of the battles I picked, but he was also very happy that we managed the project ourselves, so a lot of dollars were saved. Selections were some of the most difficult things–so now that I have already identified the most suitable faucet, towel bars, hooks, tile, etc. I’m more confident and it’ll be easy to apply a lot of what we learned in the next bathroom project–photo below. I will never understand the need to take up 25 square feet for a tub a large child will barely fit in. I’m saving up, and this guy is next on my radar.
